Propagating new ferns from collected spores is a very slow process. It requires attention to detail, great patience, and willingness to allow nature to unfold her processes on her own time schedule. Plant a radish seed and the packet tells you how many days you must wait to harvest and eat your radish. There is no printed schedule for how long it will take a spore to awaken, grow, and begin its unusual journey.
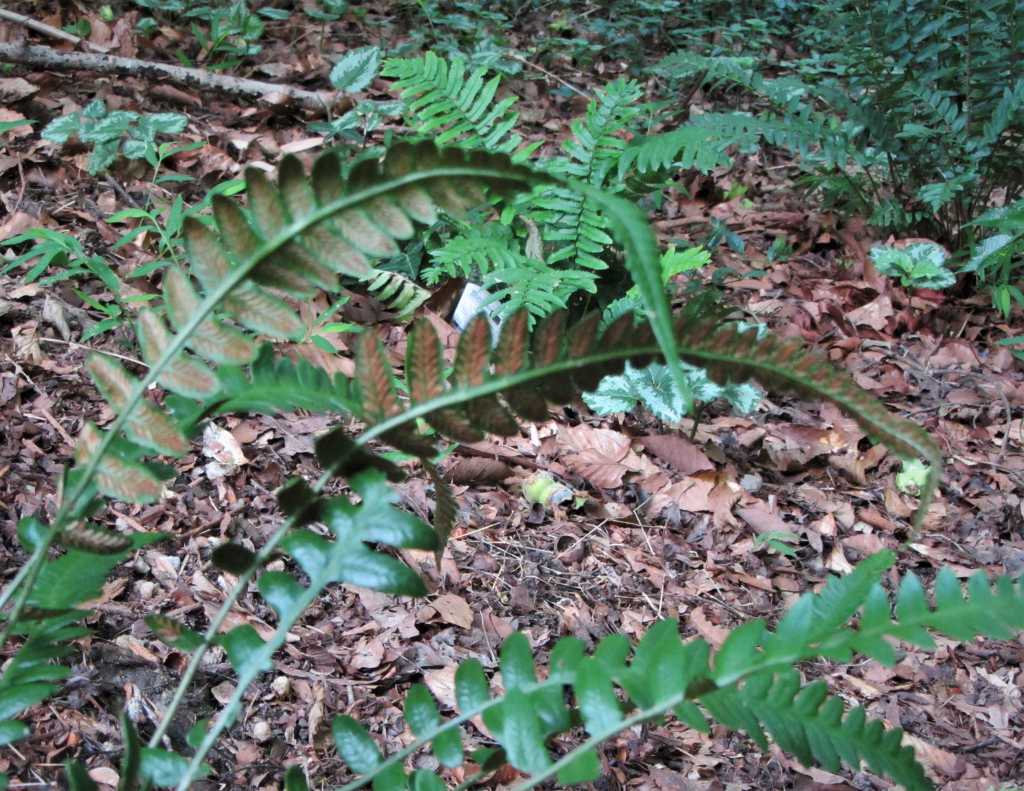
Each type of fern ripens its spores at a particular point in its annual growth cycle. Sporangia may be already visible as a new frond unfolds in spring. Some spores ripen in a fertile frond through the winter months until they release in early spring. Others begin to ripen in late summer or early fall. Even on a mature plant, spores ripen on some fronds before they ripen on others. Spores usually ripen from the base of a frond towards the tip, often over a period of days or weeks.
It is important to first know when to watch for ripening spores on the species from which you plan to collect. Research the species, or observe closely, so you can look for spores in the season when they ripen. Some desirable ferns are sterile hybrids, and so will never produce viable spore. It helps to know this in advance. Sometimes it is possible to purchase a fern as its spores are ripening, when you want to collect from a species that you don’t already grow.
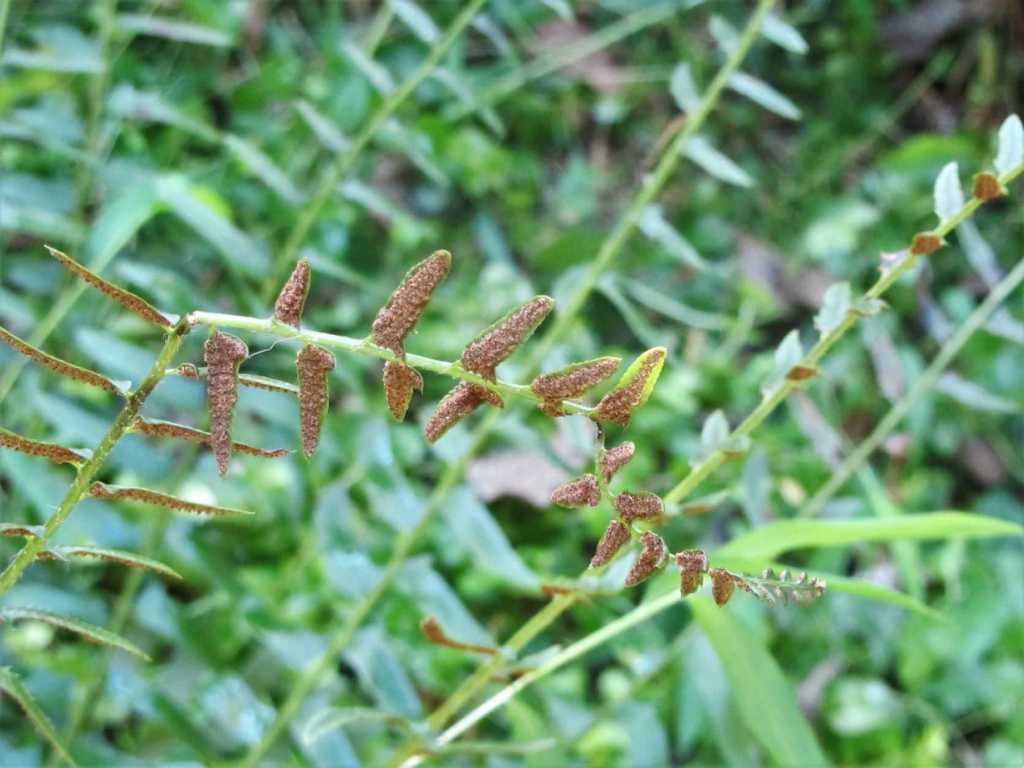
Observe the frond closely to harvest the portion with ripening, but not yet dispersed spores. Only a portion of the frond is necessary. Each sporangia contains many spores, and a single pinnule may have many sporangia on its underside. Remove the pinnules with ripening spores and drop them in an envelope, or on a sheet of plain white paper. A find dust will collect within a few days, and the spores are in that dust.
Spores blow about in the wind, and flow in rivulets of rain in nature to land on receptive soil where they begin to grow. Nothing is sterilized or sealed up. And very few of those spores ever complete their growth into a sporeling, or baby fern. Gardeners will experience more success by sowing in clean, sterilized containers filled with sterilized media. Boiling water poured into potting mix, or vermiculite, or over whatever material is used helps to eliminate mold spores and other microbes that might interfere with the growth of the ferns.
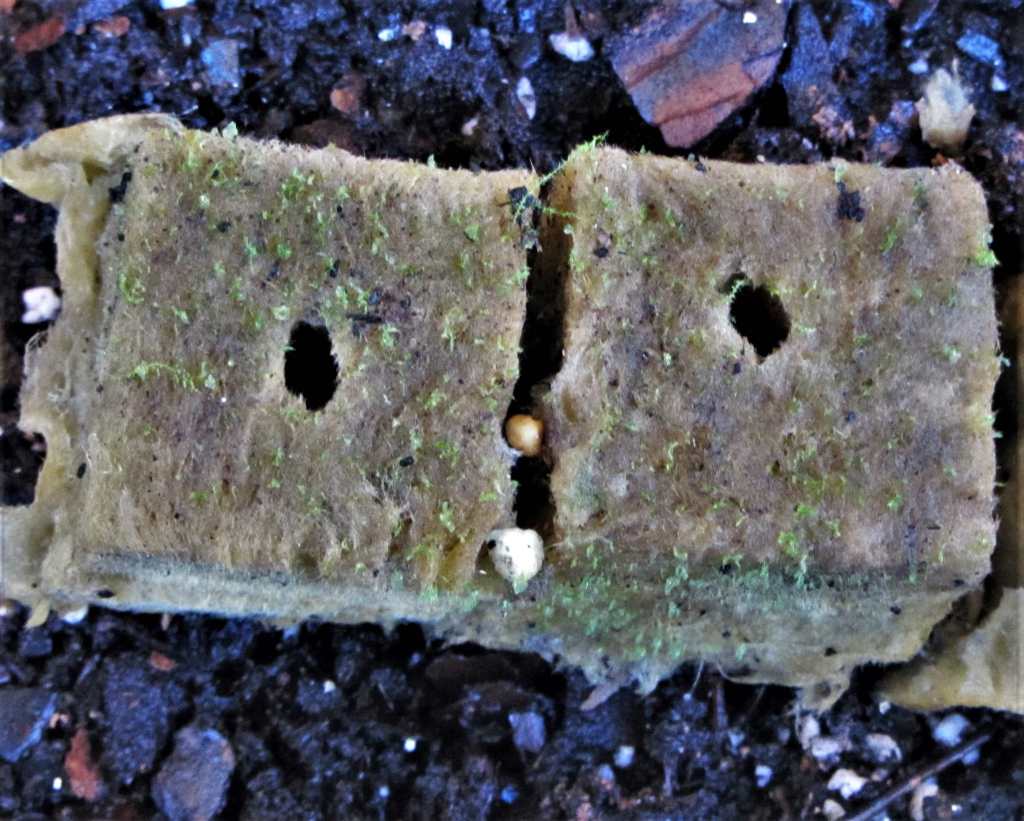
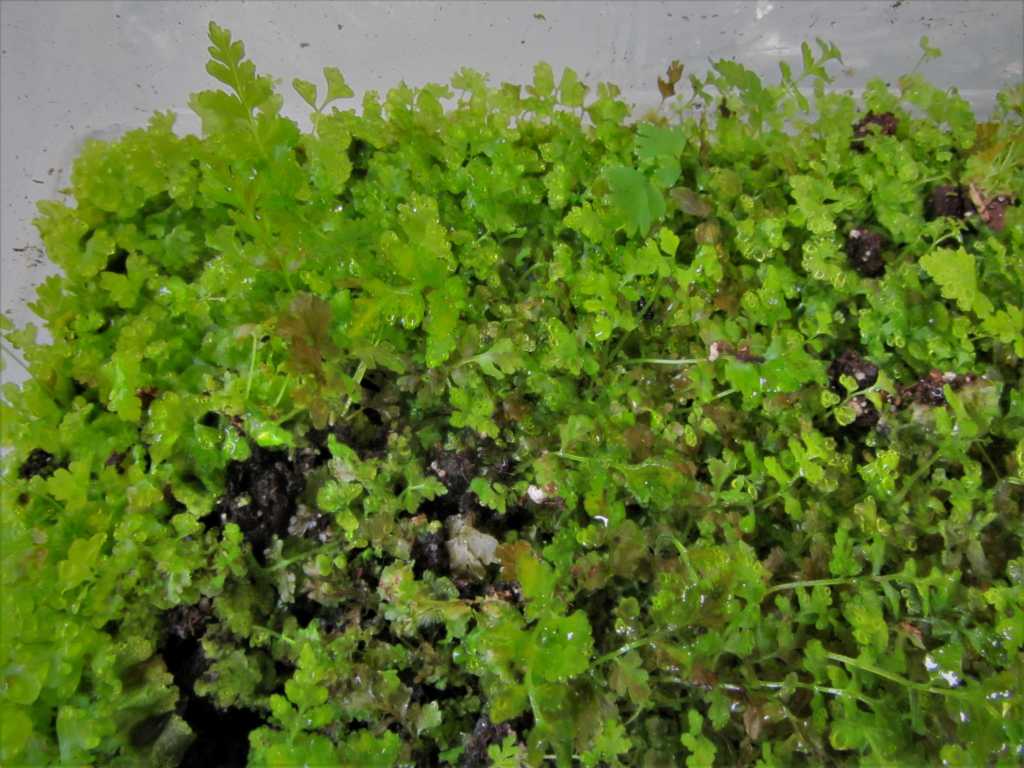
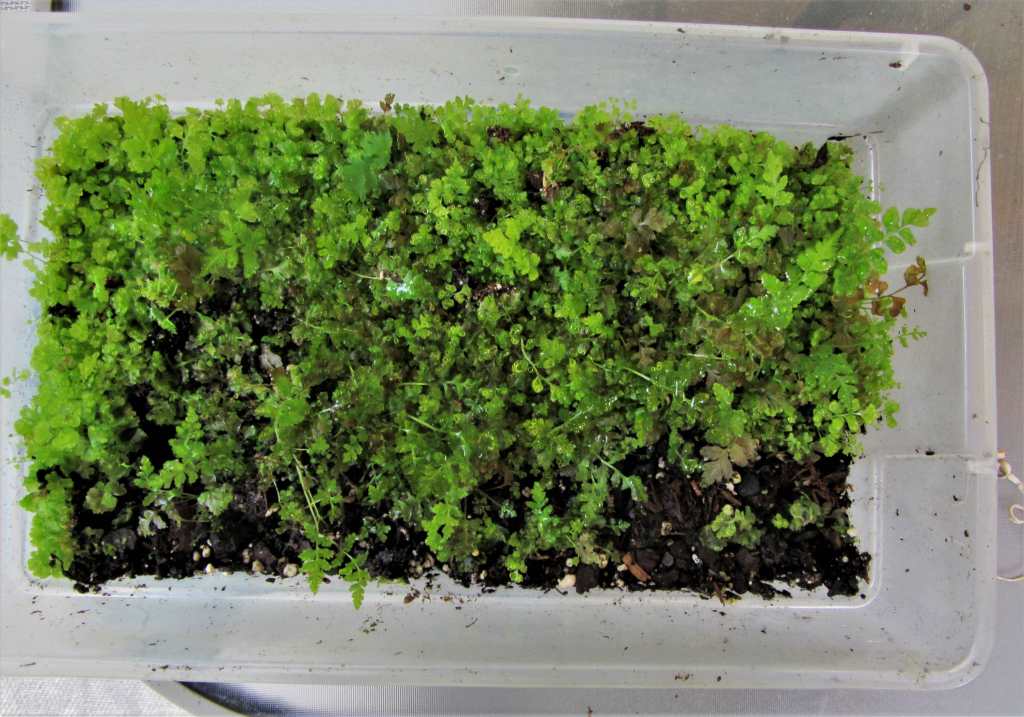
Once spores are sown, weeks pass before a green sheen develops on the media, showing initial growth. Eventually, each spore develops into a leaf-like prothallus, only a single cell thick, which produces the male and female gametes. The male gamete must travel in water to find a female gamete, still attached to the prothallus, which has formed slender roots to anchor itself in place. Once fertilized, a tiny sporeling fern begins to develop and the prothallus eventually withers away.
Early in this cycle, the soil, or other media, is covered in a carpet of tiny green heart or kidney shaped prothallium. It is usually helpful to mist or lightly water the planting again at this stage, using distilled water, to help the male gamete cells travel to find the female cells. Eventually, tiny new fronds will appear from the sea of prothallium.
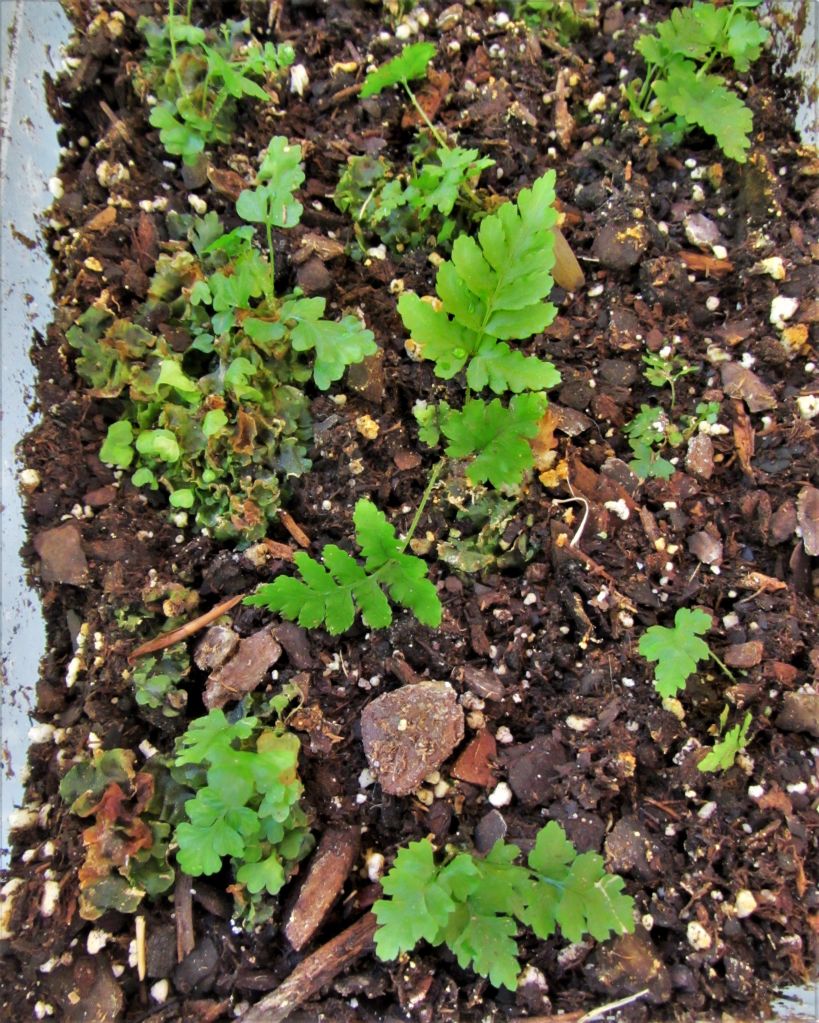
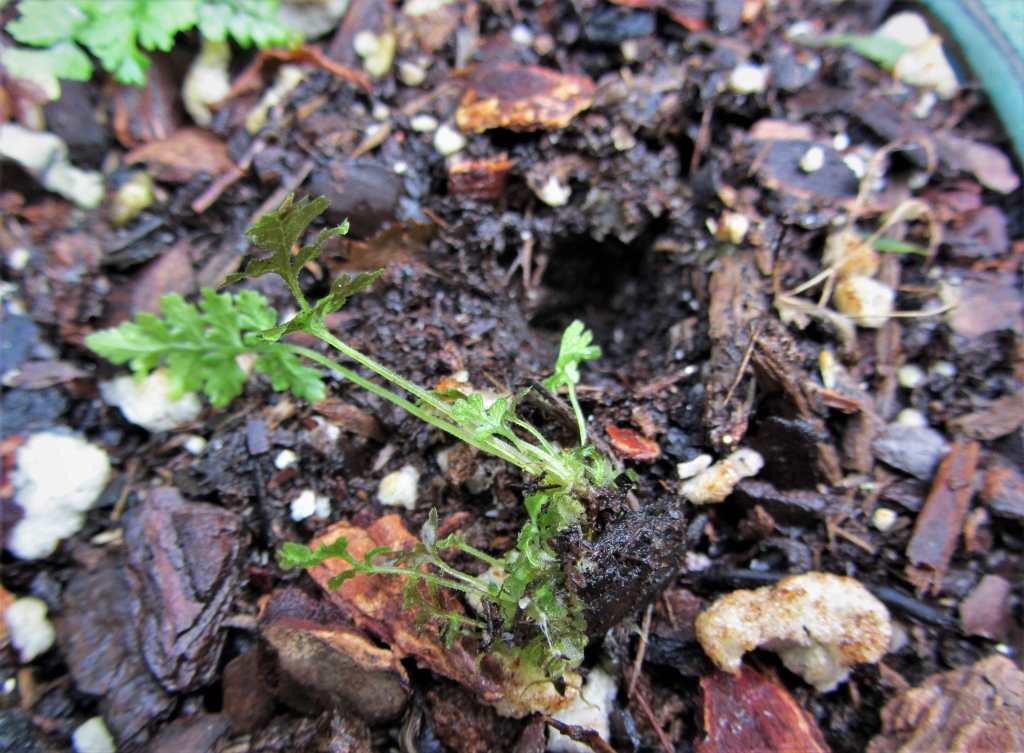
Growers must decide when and how to transplant these delicate, tiny new sporeling ferns from the propagation box into containers where growth can continue. Up to this point, the new plants have lived in a humid, closed, or covered environment in many cases. Their roots are still very shallow. Sporelings need to adjust to less humidity, more sunlight, and they must grow a good root system before they are ready for a more independent life.
Transplanting a sporeling too soon can be fatal. Waiting too long makes for a very tight, crowded mass of tiny plants. To further complicate things, each tiny fern is developing on its own schedule. They won’t all develop to a size to transplant at once. If kept indoors, they need to be under lights. If kept outdoors, they need protection from insects, animals, and extremes in weather.
I have tried several methods for navigating this delicate stage of growth for small sporelings. Some growers recommend sterilizing the soil you transplant a sporeling into at this stage. There is also debate about what size container to step these sporeling ferns up into.
I have found that transplanting into a very small container, in proportion to the size of the new plant’s roots, is rarely successful because I don’t have a professional set-up to keep those containers misted and under lights. The fern would remain in say, a 1”-2” container for a month or two as its roots develop. Daily care and observation is really needed in such small containers.
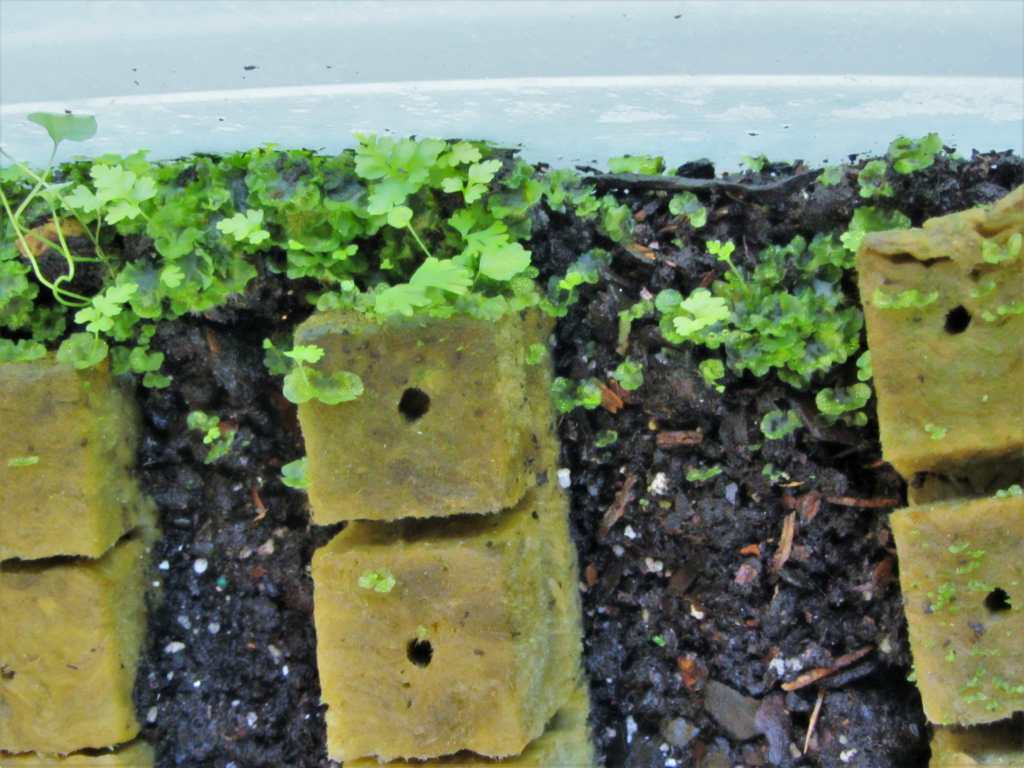
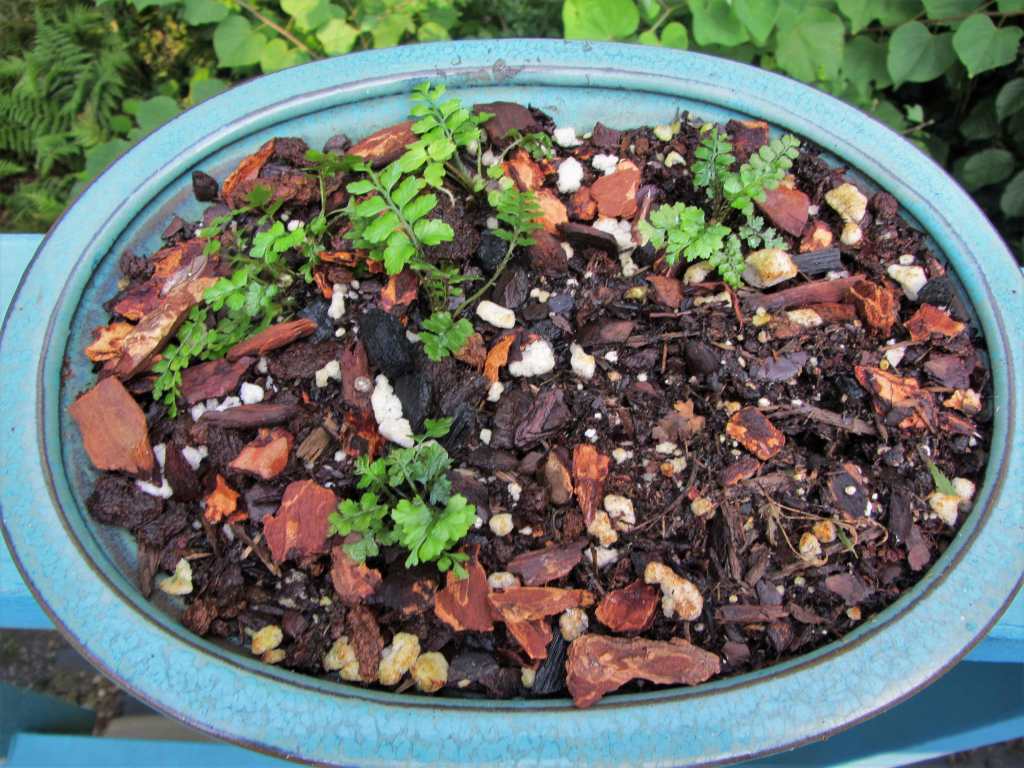
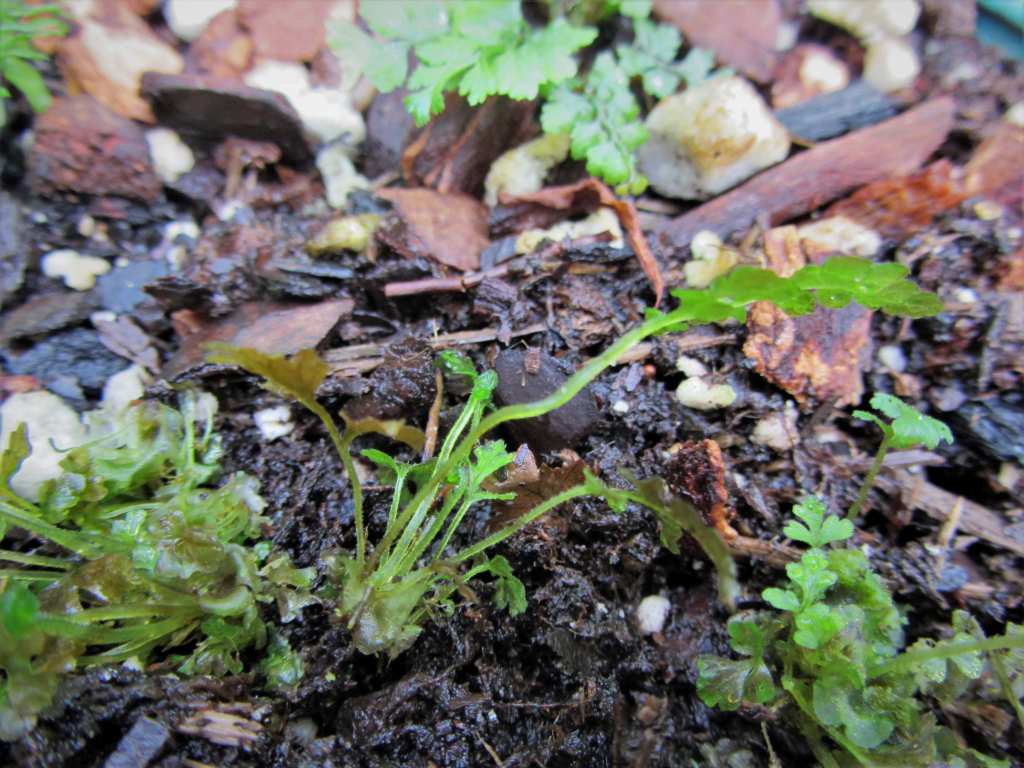
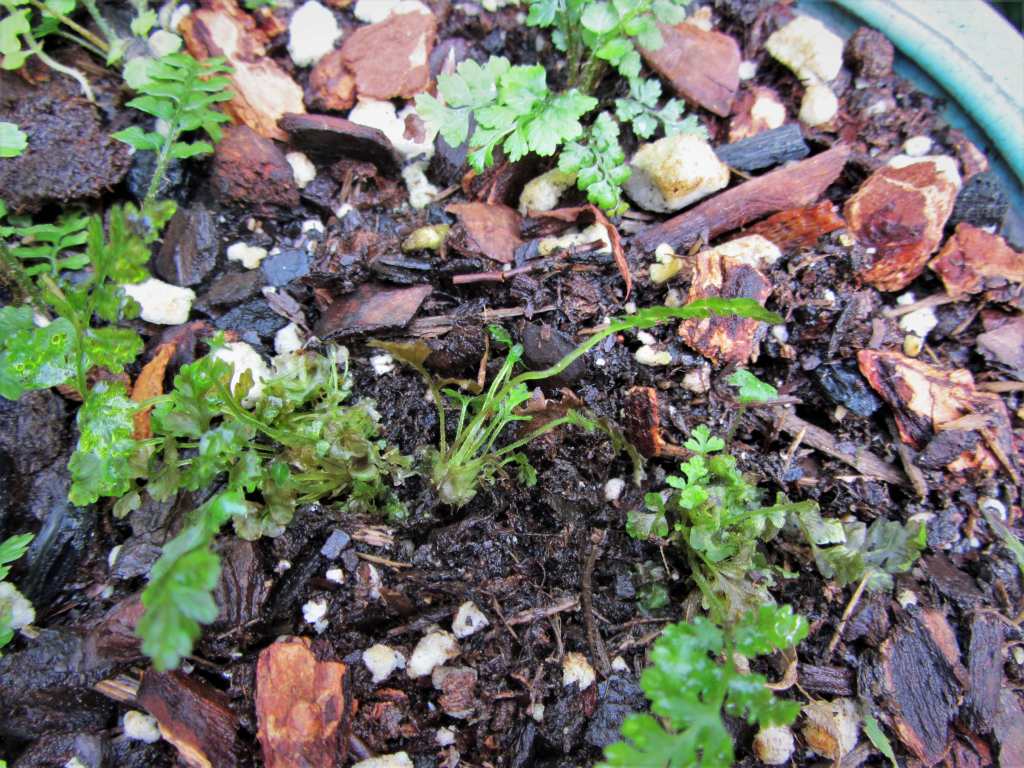
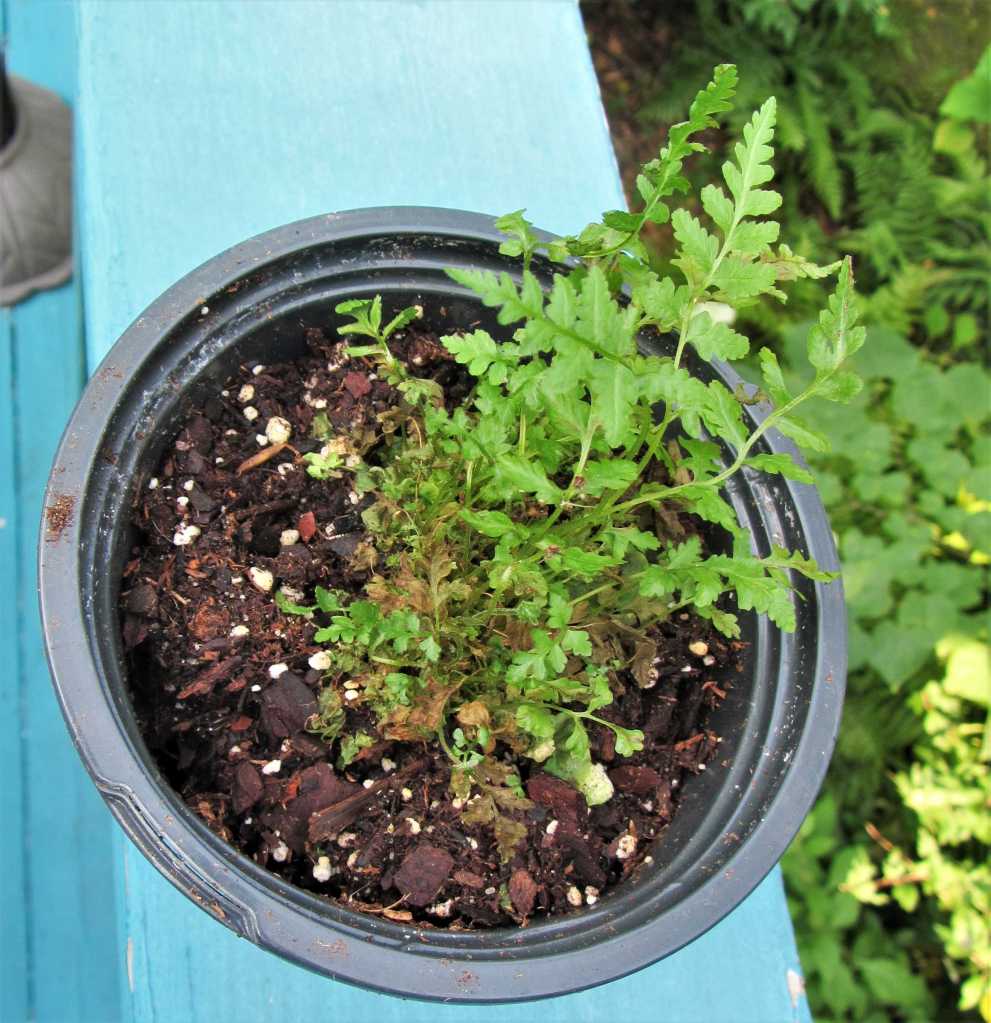
I have also found that trying to pull sporelings apart into separate little plants, each growing from its own roots, is also fraught. The tiny plants and roots are extremely delicate at this stage. I have had the most success with allowing the fern to continue its growth in the propagation box until it is a few inches tall. Then, very gently scoop a small clump of ferns and surrounding prothallium out of the box with a plastic spoon, and then deposit the clump into a waiting container.
You can plant several clumps, spaced apart, into a single, larger container. Or you can prepare individual 3”-4” pots with fresh potting soil. Make a slight depression in the center of the pot and press the clump into the depression. Always water-in the clump with distilled, bottled, or collected rainwater.
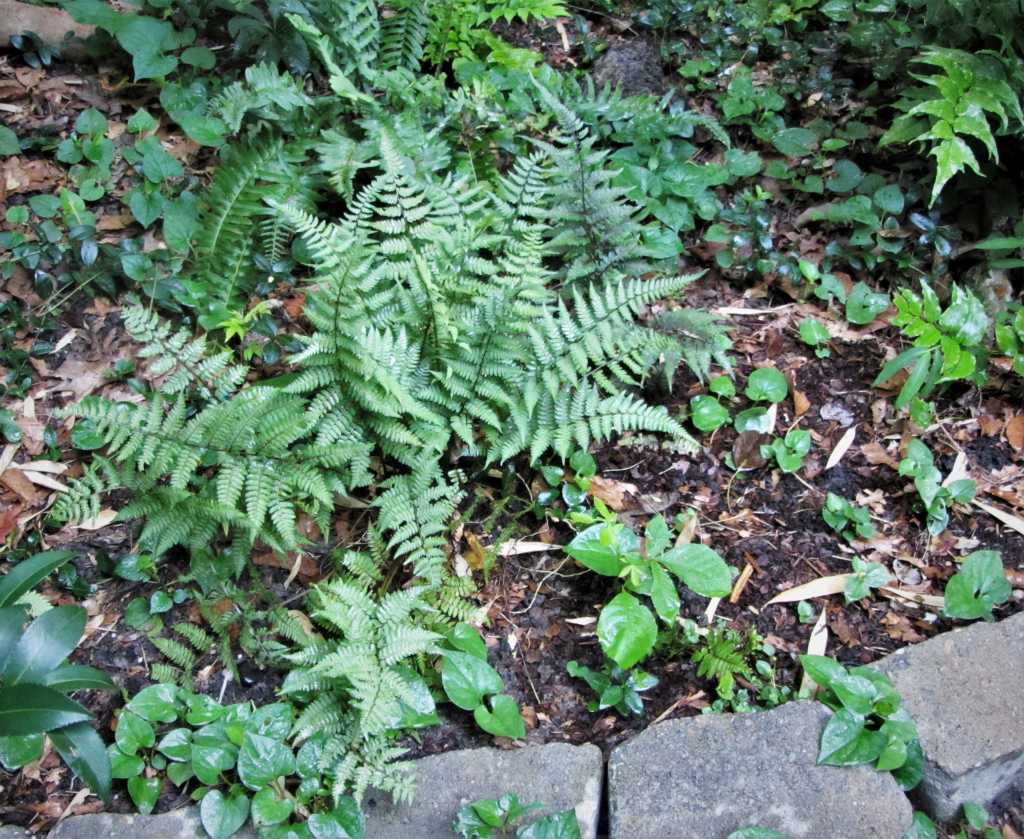
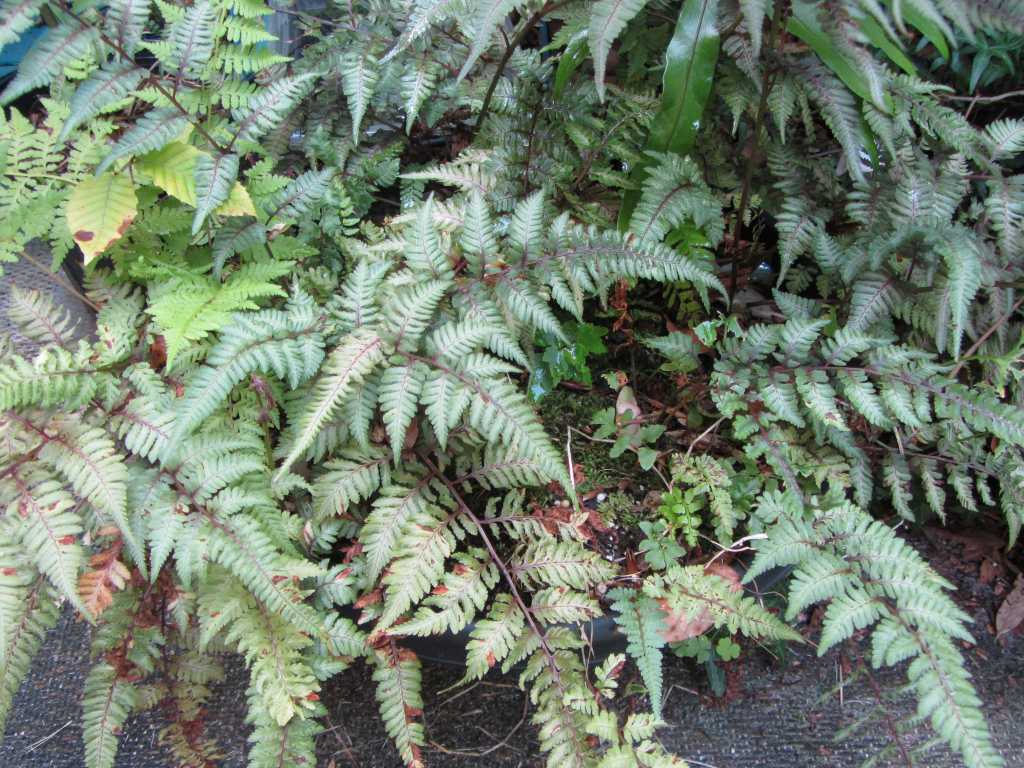
The most successful method I’ve found for nurturing baby ferns is to plant them under another plant in a larger pot. I plant them under bonsai trees, under Begonias, or under Caladiums. The larger plant helps protect the baby fern by shading it while also generating humidity.

The soil in the larger pot is more likely to remain damp enough if I miss a day or two of watering. I’ve lost many of the baby ferns I’ve planted in small pots, and still have most of the ferns I planted into larger, established plantings. There is no sterilization of soil when planting into a larger planting, of course.
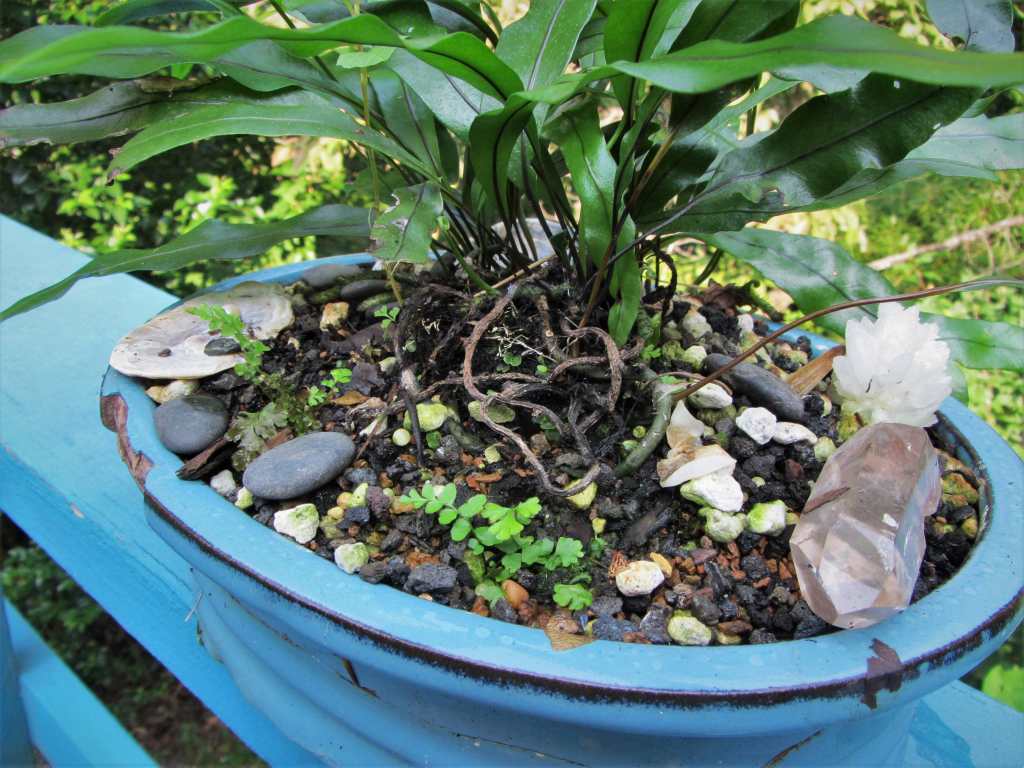
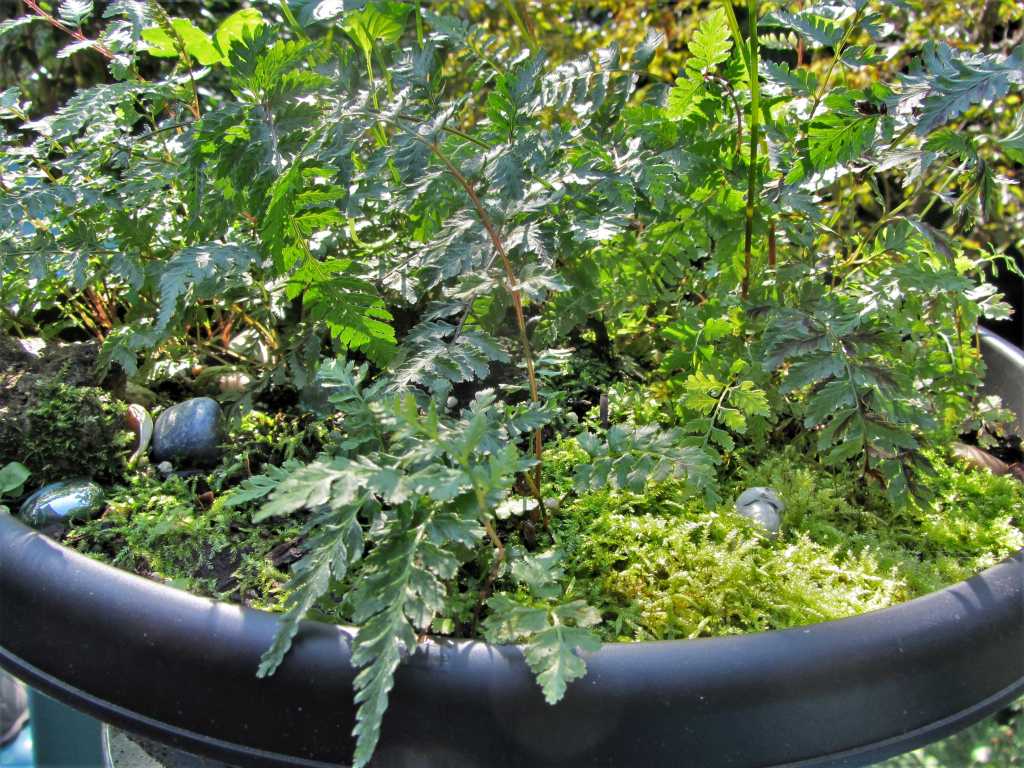
Some growers see moss as an enemy of sporeling ferns, but I look at it as a babysitter. When ferns emerge in my garden naturally from spores, the sporelings are nearly always growing from a bed of moss.
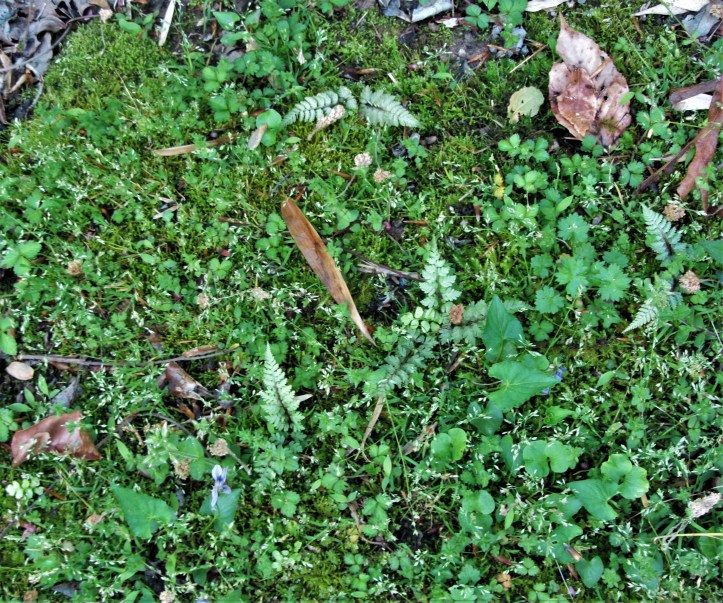
The moss maintains moisture for the prothallus during those early months of growth, and then helps to support and protect the tiny sporeling as it grows. If I transplant a wild ‘found’ sporeling fern, I scoop up some of the moss it has grown in. Even these baby ferns that are already 3”-4” tall still have very shallow roots. You can scoop them up easily with the top of a hori-hori knife.
I like to underplant ferns with moss because both enjoy the same shaded, moist, slightly acidic environment for optimal growth. Mosses are non-vascular plants that absorb water from humidity in the air and moisture in the soil below them. They anchor themselves with rhizoids, but these aren’t true roots. Their leaves are thin enough that moisture seeps from cell to cell. They can absorb water when it rains, hold that water, and release it slowly back into the air. This helps to provide consistent humidity for the developing sporeling fern.
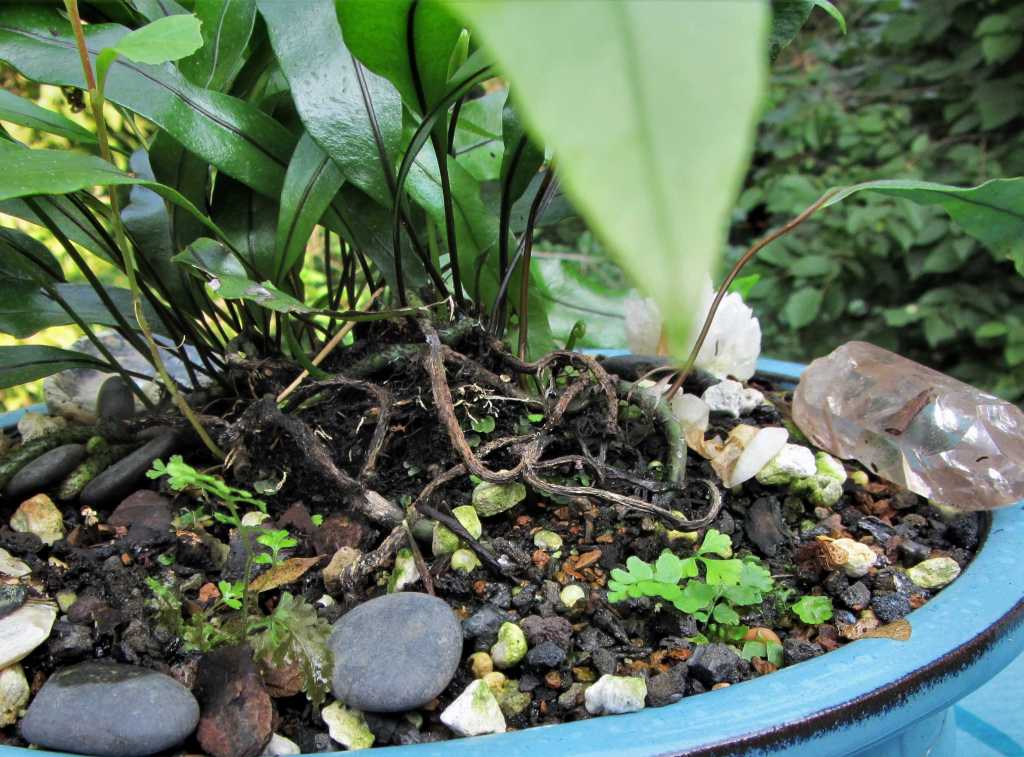
Newly transplanted ferns may also be mulched with gravel, or very fine bark mulch. I often use bonsai or orchid planting media as a permeable, but protective mulch. Misting frequently helps if the air doesn’t have at least 50% humidity. I find that sporeling ferns grow well outside, on a protected deck in full shade during the summer months.
It is very helpful to label containers with genus and species as spores are sown, or keep good notes in a journal. This process may take a year or more to unfold. Maybe you assume that you will remember, or that you will recognize the baby ferns. In most cases, sporelings won’t mature into their adult appearance for many months. If you haven’t done a good job of labeling, you will have a mass of ‘mystery ferns’ as the sporelings develop. This makes a difference if any of the spores are for tender ferns that require winter protection. It is also good to know whether the sporelings are deciduous or evergreen, because winter is always going to overtake these young ferns during their development.
Spores collected from named selections may not yield sporelings that match the parents. Especially with Athyrium species, there may be lots of variety in the appearance of the next generation of ferns.
Growing ferns well is relatively simple once they reach maturity. Raising sporelings from collected spore is a fascinating undertaking, but it requires more care and precision to assist appropriately at each step in the plants’ development, so they continue to grow and progress.
Of the thousands of spores you collect from a single frond, you may only end up with a few mature plants. But count that as success. Enjoy participating in the process, knowing that the more you sow spores and care for sporelings, the more successful your techniques will become.
For More Information:
Hallowell, Barbara and Anne C. Hallowell. Fern Finder: A Guide to Native Ferns of Central and Northeastern United States and Eastern Canada. Nature Study Guild Publishers. 2001.
Hoshizaki, Barbara Joe Hoshizaki and Robbin C. Moran. Fern Grower’s Manual: Revised and Expanded Edition. Timber Press. 2001.
Olsen, Sue. The Encyclopedia of Garden Ferns. Timber Press. 2007.
Rickard, Martin. Ferns for a Cool Temperate Climate. The Crowood Press. 2021.
Steffen, Richie and Sue Olsen. The Plant Lover’s Guide to Ferns. Timber Press. 2015
Visit the Hardy Fern Foundation’s website for additional information on propagation.

Unraveling the Mystery of Growing Ferns from Spores 9.12.2021
More Mysteries: Growing Ferns from Spores 10.20.2022
Late Summer in the Garden: To Do, To Do Less, and What to Avoid
You might enjoy my series of posts, Plants I Love That Deer Ignore.
Visit Illuminations for a daily photo and quotation
